ChatBot on Azure as an Artificial Intelligence (AI) Teacher
November 2, 2020
ChatBot is an Artificial Intelligence (AI) program that can understand and communicate voice and text like human.
The ChatBot Blog is divided into two parts:
In Part 1 of this blog, we are going to build a ChatBot which can be used as an Artificial Intelligence Teacher.
In Part 2 of this blog, we will explore the common methods to embed the ChatBot into a website and the recommended secured approach.
The main steps involved to create ChatBot are the following:
- Prepare a Question and Answer document
- Create a QnA maker service (Azure cognitive service)
- Create a Knowledge Base (KB)
- Connect QnA maker service to KB
- Populate KB
- Save and Train KB
- Publish KB
- Create a Web App Bot Service
- Test Bot
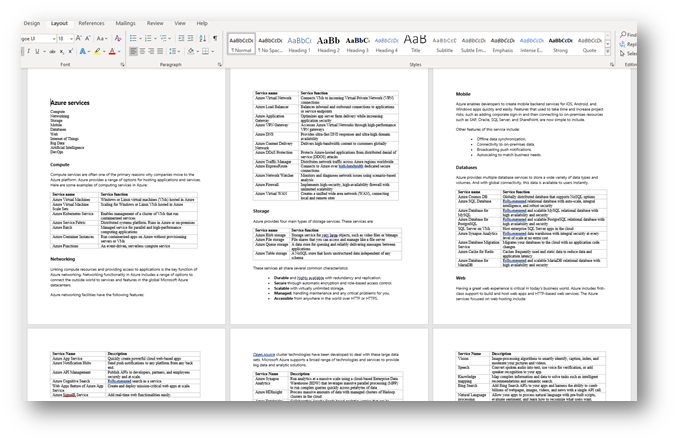
Prepare a Question and Answer document
The first step is to create a Question and Answer document. It can be a simple document which can follow some structure. For demonstration purpose, a sample set of question and answers regarding Azure services has been prepared in Microsoft Word like the below:
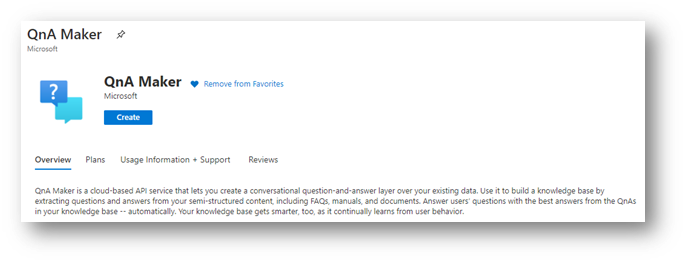
Create a QnA maker service
QnA Maker is a cloud-based API service that lets us create a conversational question-and-answer layer over our existing data. We have to use a QnA maker service to build a knowledge base by extracting questions and answers from our semi-structured document.
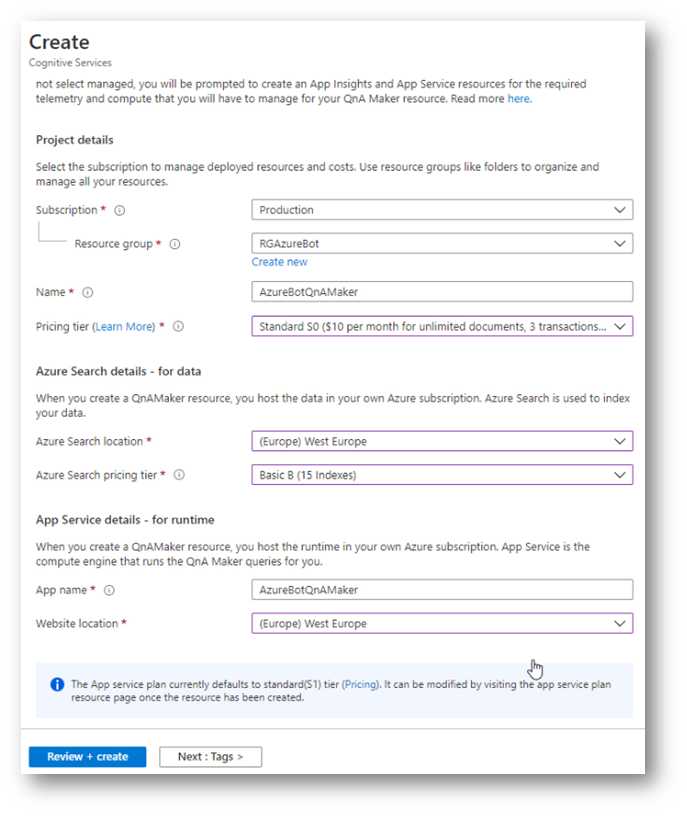
Create a QnA Maker service as shown below:
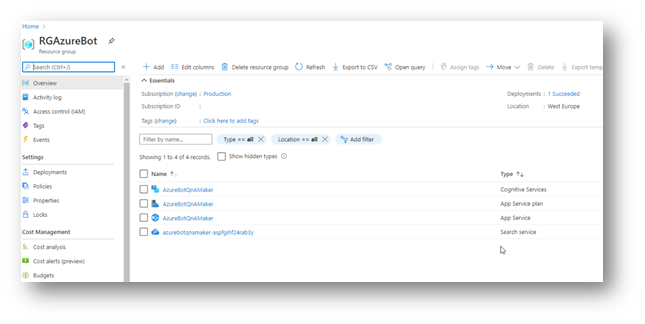
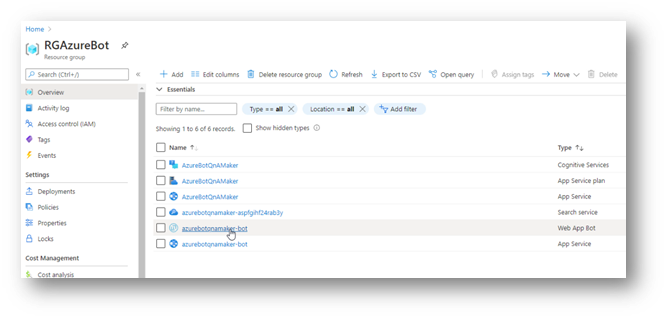
Once the Provisioning is complete, you will see the below resources created in your Azure Resource Group:
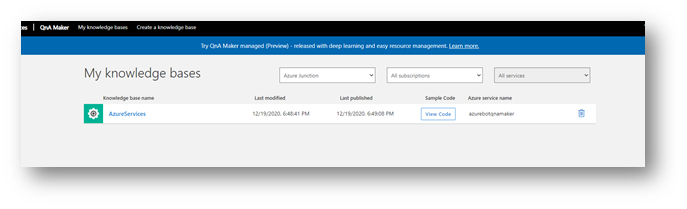
Create a Knowledge Base
Now its time to create the knowledge base for your Bot.
For that you must go to a website: www.qnamaker.ai and login with your Azure account.
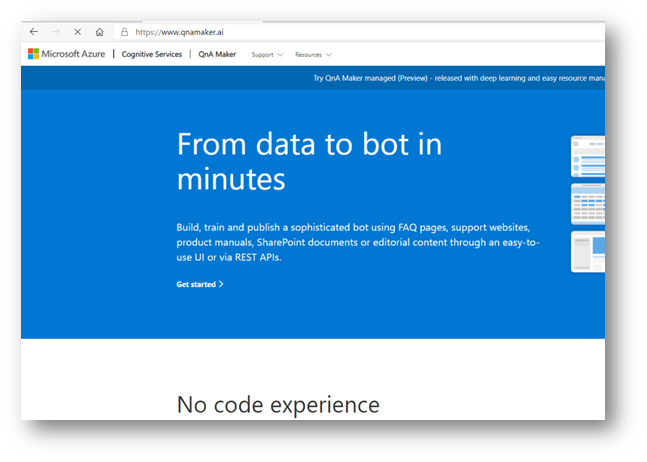
Once you login with your account, you should see a similar screen like the below:
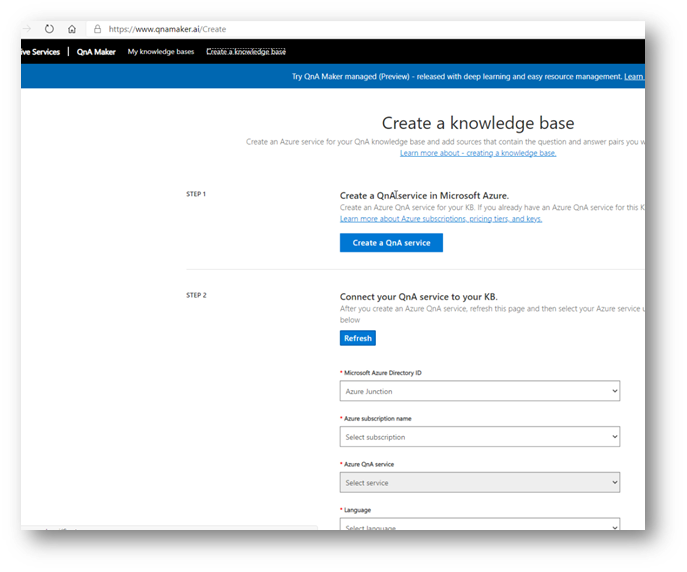
Here if you notice, Step 1 is already done as you have already completed the creation of the QnA Service.
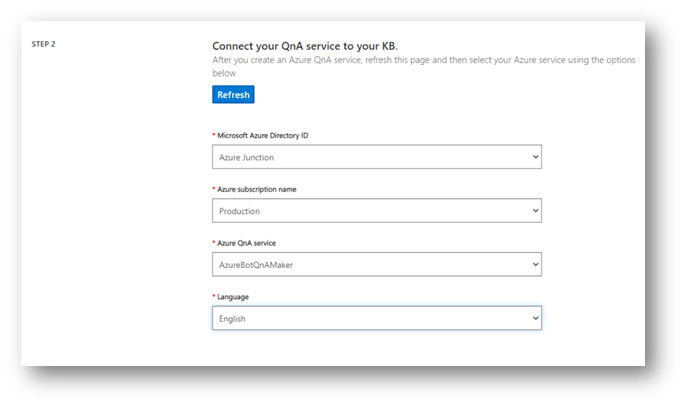
For Step 2, you must select your Azure AD, Subscription Name, the QnA Service and Language.
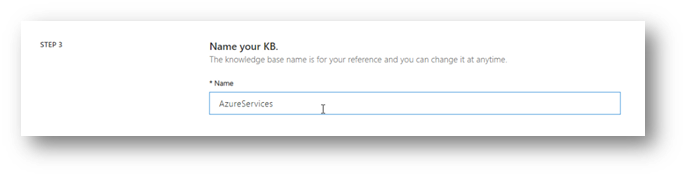
In Step 3, Give a meaningful name to your KB like the below
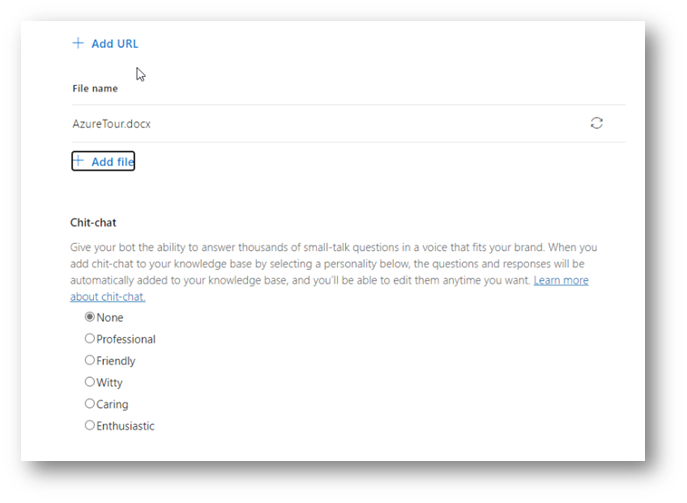
In Step 4, you have to populate your KB with the Q&A document that you have already created in the beginning. You can also add the frequently asked questions to your KB.
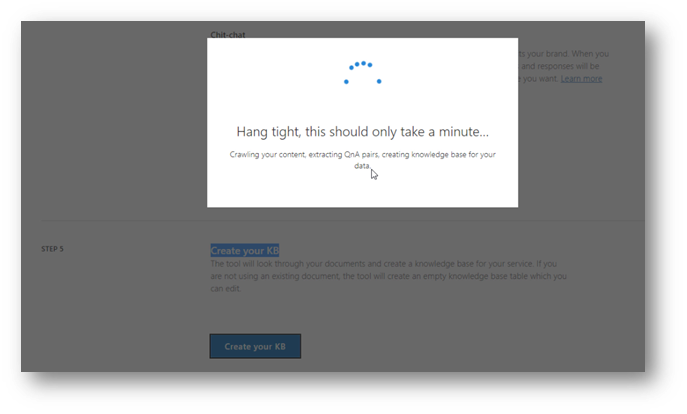
In Step 5, Click the Create your KB button
Save and Train KB
Once the KB is created, you must Save and Train the KB to save your edits and train QnA Maker
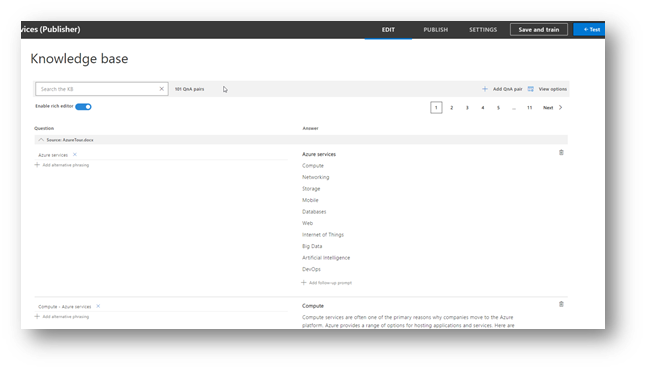
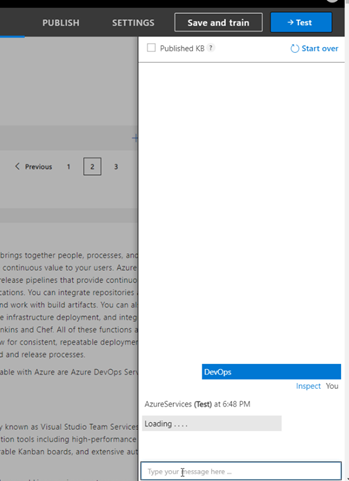
You can also Test the knowledge base by performing Test feature which is available on the QnA make portal.
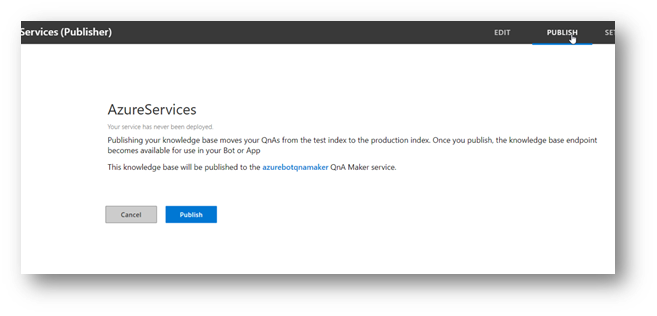
Publish KB
Once you are happy with the Training and Testing, you are ready to publish the KB
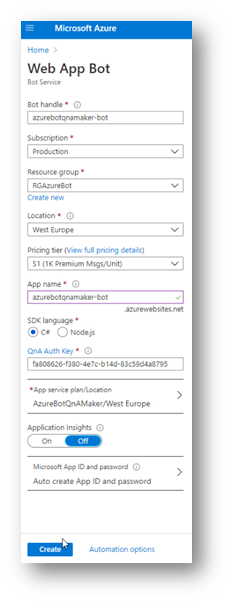
Create a Web App Bot Service
Now you can create the Azure Web App Bot Service like the below:
Once the Bot is provisioned, you should see the below resources in your Resource Group
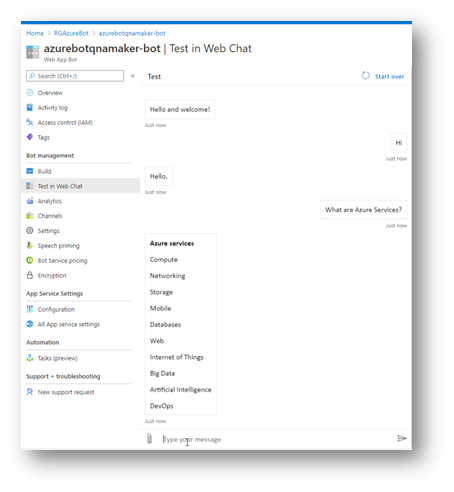
Test Bot
Once the Web App Bot is provisioned, you can perform Bot test like the below: